We discussed about Azure subscriptions in one of our previous posts. Azure subscription is a logical grouping of Azure services. You need to have a subscription since it acts as a single billing unit for all Azure resources utilized in that account in order to use Azure's cloud-based services.
In this article, we will see how to create a Azure Subscription.
In order to create an Azure subscription, you would need the Owner permissions on the billing account. To create a subscription for you or someone else in the current Azure Active Directory, use the steps below.
1. Sign in to the Azure Portal.
2.Navigate to Subscriptions

3. Click on Add

4. On the Create a subscription page, in the Basics tab, enter a Subscription name.

5. Select a Billing account where the new subscription will get created.
6. Select the Billing profile where the subscription will get created.
7. Select the Invoice section where the subscription will get created.
8. Select Microsoft Azure Plan for DevTest if the subscription will be used for development or testing workloads. Otherwise, select Microsoft Azure Plan and click on Next.
9. In the Advanced tab, select the Subscription directory. It's the Azure Active Directory (Azure AD) where the new subscription will get created.

10. Select the Management group. It's the Azure AD management group that the new subscription is associated with. You can only select management groups in the current directory.
11. Select the Subscription owner and click on Next. You can select only users or service principals in the selected subscription directory. You can't select guest directory users. If you select a service principal, enter its App ID.
12. You can create a Budget for your subscription and configure Alert condition.

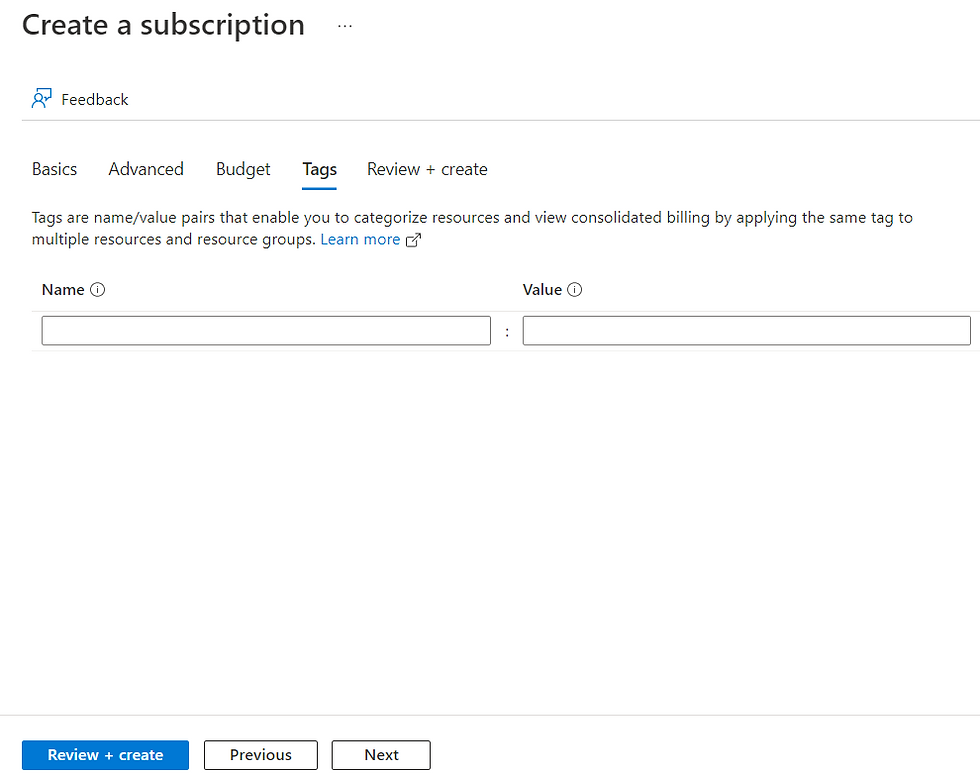
13. In the Tags tab, Enter tag pairs for Name and Value.
14. Select Review + create. You should see a message stating Validation passed.
15. Verify that the subscription information is correct, then select Create. You'll see a notification that the subscription is getting created.
After the new subscription is created, the owner of the subscription can see it in on the Subscriptions page.
That's it for now. We will look at how to create resources in Azure in the upcoming posts.
Thank you for reading!
*** Explore | Share | Grow ***
Comments