We talked about the various VM sizes offered by Azure in the previous post. Let's quickly go through the VM creation process in this post.
1. Sign in to the Azure Portal.
2. Enter virtual machines in the search.

3. Under Services, select Virtual machines.
4. In the Virtual machines page, select Create and then Azure virtual machine. The Create a virtual machine page opens.

5. Under Instance details, enter VM name for the Virtual machine name as per your requirement/standards.
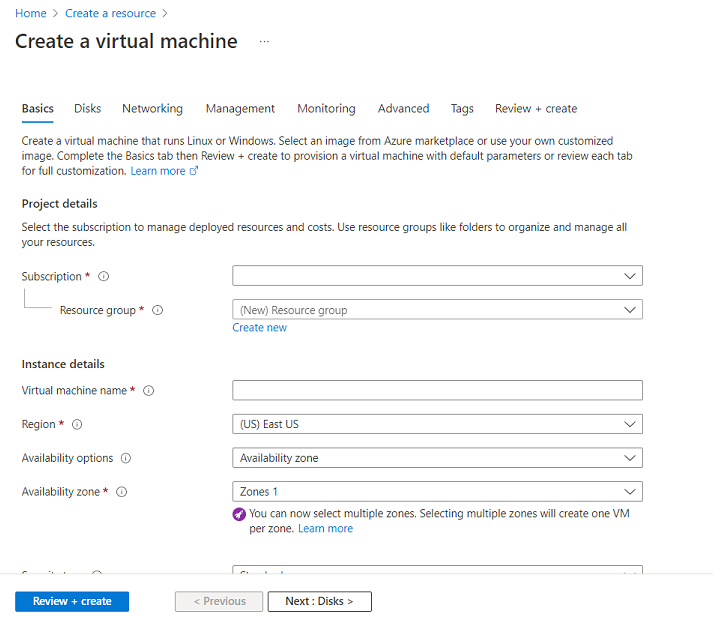
6. Scroll down and select the Image as per your requirement.

7. Under Administrator account, provide a username, such as azureuser and a password. The password must be at least 12 characters long and meet the defined complexity requirements.
8. Under Inbound port rules, choose Allow selected ports and then select RDP (3389) and HTTP (80) from the drop-down.

9. Leave the remaining defaults and then select the Review + create button at the bottom of the page.
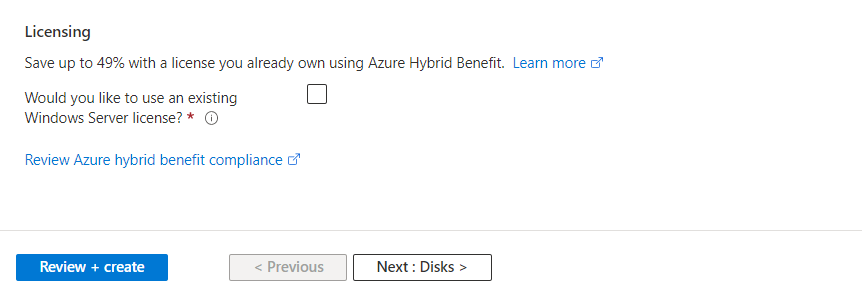
10. After validation runs, select the Create button at the bottom of the page.
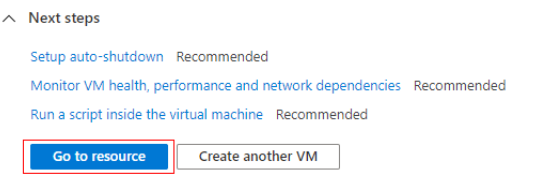
11. After deployment is complete, select Go to resource.
Connect to virtual machine -
1. On the overview page for your virtual machine, select the Connect > RDP.

2. In the Connect with RDP tab, keep the default options to connect by IP address, over port 3389, and click Download RDP file.

3. Open the downloaded RDP file and click Connect when prompted.
4. In the Windows Security window, select More choices and then Use a different account. Type the username as localhost\username, enter the password you created for the virtual machine, and then click OK.
5. You may receive a certificate warning during the sign-in process. Click Yes or Continue to create the connection.
This concludes the post.
Thank you for reading!
*** Explore | Share | Grow ***
Comentarios